
Follow Me On Social Media!
Royal Icing Recipe: The Best Creamy Finish for Your Cookies
Introduction to Royal Icing Recipe
Every passionate baker knows that the secret to transforming ordinary cookies into stunning masterpieces lies in a good royal icing recipe. This versatile icing not only adds a beautiful finish to your baked goods but also serves as a delightful edible glue for decorative elements. Imagine delicate sugar flowers, intricate piping designs, and glossy finishes enhancing your baked treats. Who wouldn’t want to elevate their cookie game to such delightful heights?
Why Royal Icing is Essential for Cookie Decorating
The charm of royal icing extends beyond aesthetics; it’s an essential tool for any serious cookie decorator. Here’s why having a reliable royal icing recipe in your culinary toolkit will work wonders:
-
Versatility: Royal icing can be whipped up to different consistencies, catering perfectly for both flooding and outlining techniques. This flexibility allows you to achieve various textures and looks, from thick designs that maintain their shape to thinner layers that create smooth glazes.
-
Sturdy Decoration: Unlike buttercream, which can be soft and prone to smudging, royal icing dries to a hard finish. This makes it ideal for intricate designs and stacking cookies or cookies that will be packed and shared.
-
Impressive Durability: Cookies decorated with royal icing can last for weeks without losing their charm, thanks to the icing’s dry nature. Creating decorated cookies for events becomes a breeze, as you can prep them well in advance.
-
Gluten-Free Option: With a simple royal icing recipe using just egg whites, powdered sugar, and flavoring, you can create gluten-free treats that cater to various dietary preferences without compromising on taste.
-
Endless Customization: Color it, flavor it, or add edible glitter for those extra touches. The world of cookie decorating is your oyster with royal icing, allowing you to express your creativity in delicious forms.
Incorporating a royal icing recipe into your baking repertoire can be a game-changer, inviting you to experiment and elevate your cookie-decorating skills. So roll up your sleeves, gather your ingredients, and let’s dive into the wonderful world of royal icing!
Key Ingredients for Royal Icing
Creating an impeccable royal icing recipe begins with understanding the essential ingredients that together contribute to its structure, taste, and aesthetic. Let’s dive into the key components that will elevate your decorating game!
Egg Whites
The backbone of royal icing, egg whites are crucial for crafting that perfect structure for decorating. They not only provide stability but also lend a glossy finish to your creations. For the best results, use fresh egg whites, as they whip up fluffier and offer a better binding capacity compared to boxed alternatives. Remember, the magic happens when you whip them to soft peaks—this is what gives your icing its delightful texture!
Confectioners’ Sugar
This ingredient is what gives your icing its sweetness and thickness, achieving that ideal consistency. When sifting confectioners’ sugar, you ensure there are no lumps, resulting in a smooth and easy-to-work-with icing. Aim for a mix that is not too runny but pliable enough to hold its shape when piped onto cookies or cakes.
Vanilla Extract
While the primary function of royal icing is to provide decorative flair, why not add a little flavor as well? A splash of vanilla extract not only enhances the taste but also adds a warmth that elevates your icing from ordinary to extraordinary. Just a teaspoon can infuse your icing with a delightful nuance that complements all your baked goods beautifully.
With these key ingredients in hand, you’re well on your way to mastering the art of royal icing!
Why You’ll Love This Royal Icing Recipe
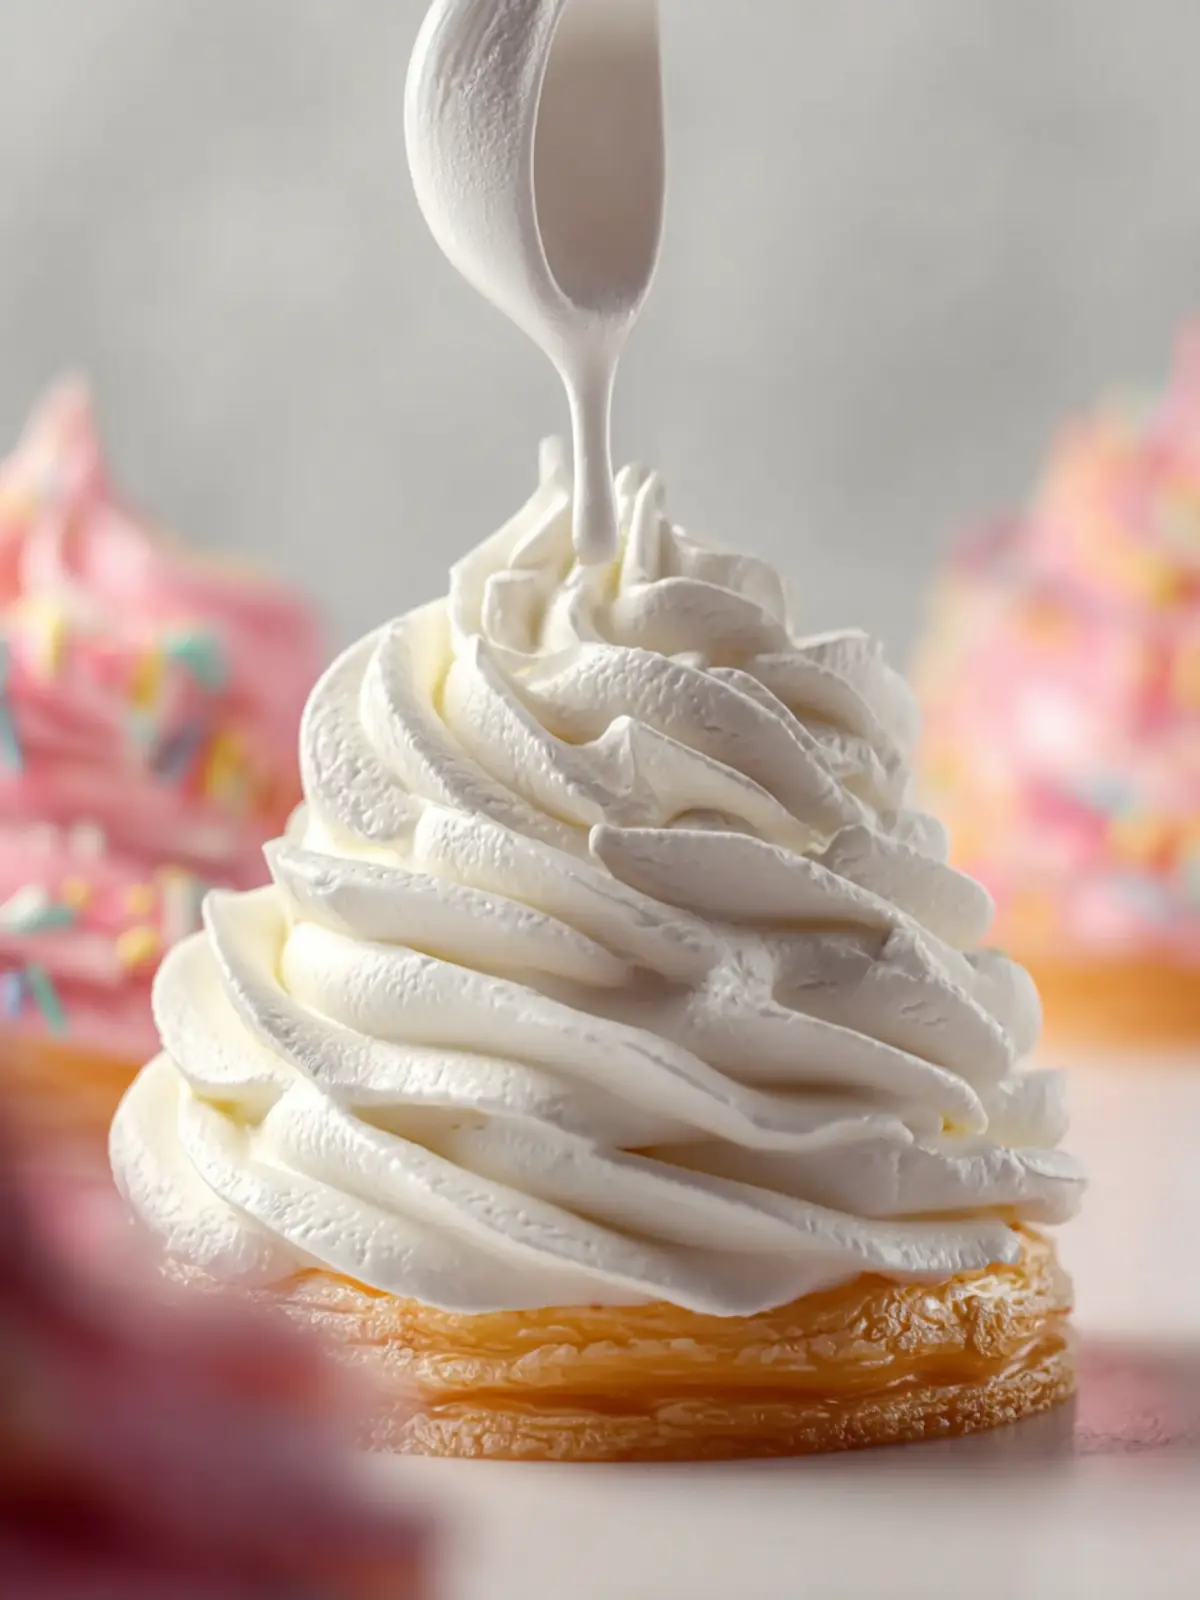
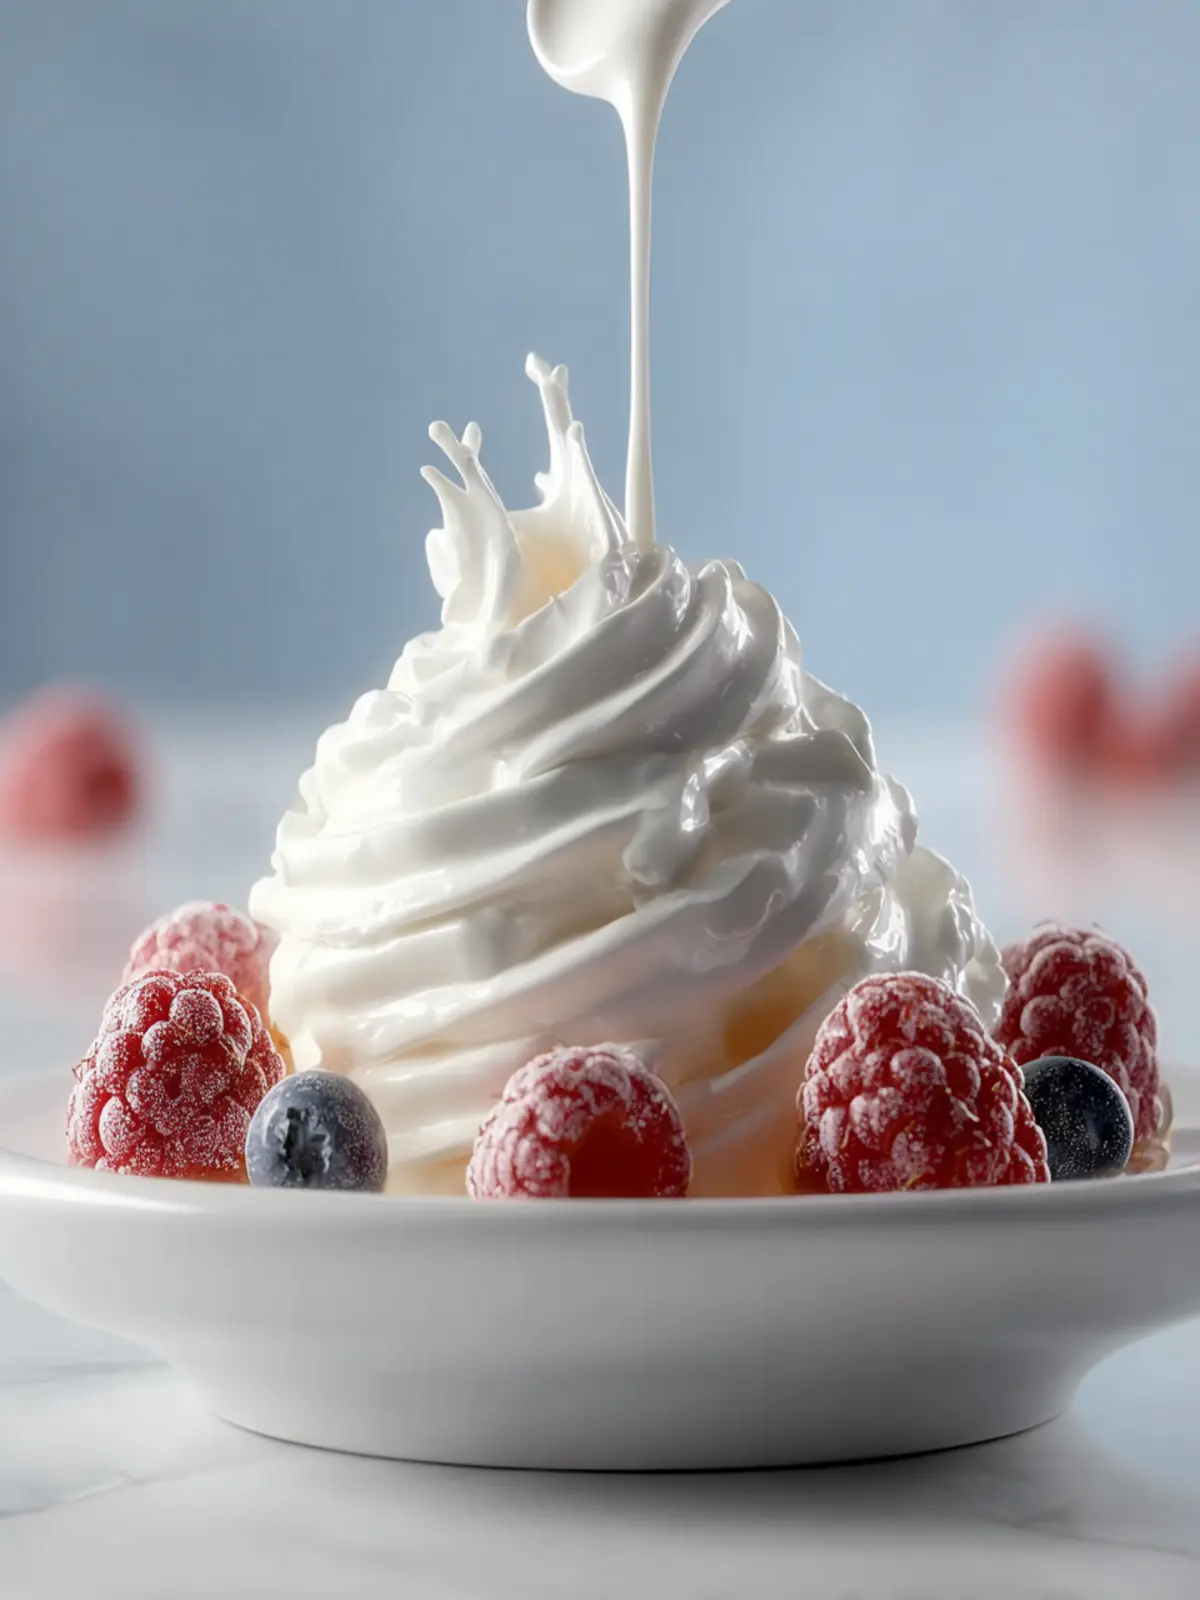
There’s something truly magical about sprucing up your baked creations with a flawless royal icing. Imagine icing that dries to a beautiful sheen, allowing your cookies to look professionally decorated right from your kitchen. This royal icing recipe creates a smooth, glossy finish perfect for everything from holiday cookies to birthday cakes.
What sets this icing apart is its simplicity and versatility. Crafted from just egg whites and powdered sugar, it’s easy to whip up—even if you’re a baking novice. Here are a few reasons why this recipe will become your go-to:
-
Perfect Consistency: Achieving the ideal flow for outlining and flooding has never been easier. The mix sets up beautifully, giving you ample time to work your creative magic without the fear of it running off your cookies.
-
Stays Soft on the Inside: Unlike some other icings that harden completely, this royal icing remains slightly pliable on the inside, making it a joy to bite into.
-
Endless Customization: Want a pop of color? Just add a touch of food coloring. Have a special design in mind? The icing is great for intricate piping.
This royal icing recipe opens the door to a world of creativity, making every occasion a bit more special!

Variations of Royal Icing
When diving into the world of cookies and decorations, the royal icing recipe often takes center stage, serving as a versatile canvas for your creativity. Understanding different variations allows you to personalize your cookie creations, making the experience even more enjoyable.
Colored Royal Icing
Achieving vibrant colors in your royal icing doesn’t have to compromise its texture or consistency. Start with gel food coloring instead of liquid, as it provides rich hues without adding excess moisture.
- Mix Gradually: Add food coloring drop by drop until you reach your desired shade.
- Test Consistency: After coloring, mix thoroughly and check that the icing retains its ability to hold peaks. If it seems too runny, you might need to adjust with a bit more powdered sugar.
Flavored Royal Icing
Imagine biting into a cookie only to be greeted by delightful hints of flavor beyond the classic sweetness of icing. Incorporating flavors can elevate your creations to new heights.
- Extracts and Zests: Try adding a splash of almond extract or lemon zest for a refreshing twist. A teaspoon of vanilla is always a crowd-pleaser.
- Alternative Ingredients: Incorporate a bit of espresso powder or matcha for a unique flavor profile. Just remember to balance the dry and wet ingredients!
By exploring these variations, your royal icing recipe can transform into a fun and expressive tool, personalizing your cookies for every occasion.
Cooking Tips and Notes for Royal Icing
Creating the perfect royal icing recipe can feel a bit daunting, but a few handy tips can make all the difference. Think of it as your secret weapon in decorating!
Best Practices for Achieving the Perfect Consistency
When crafting your royal icing, achieving the right consistency is crucial. Your icing should be smooth yet hold its shape. Here are some tips to guide you:
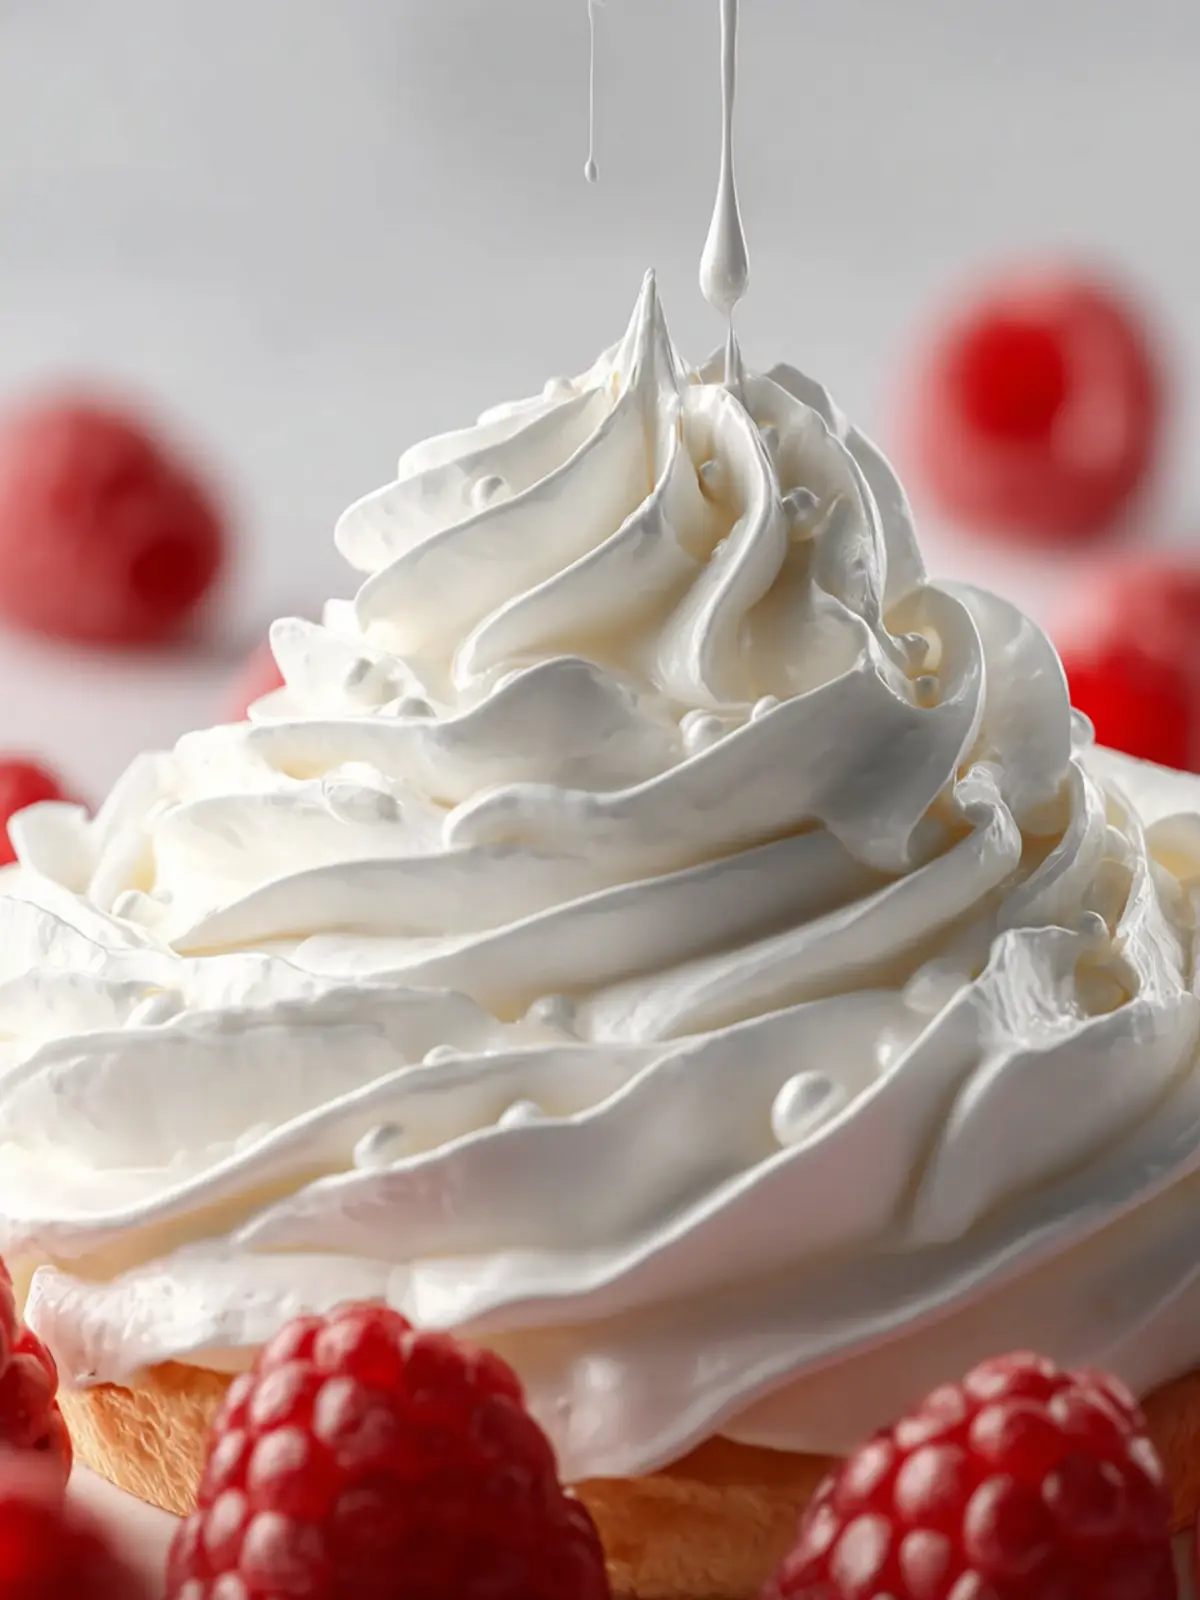
- Stiff Peaks: If you’re planning to pipe flowers or intricate designs, aim for stiff peaks—this means keeping the icing fairly thick.
- Medium Consistency: For outlining cookies, a medium consistency is ideal. To test this, dip a spoon into the icing; it should flow back into the bowl with a slight ribbon effect in about 10 seconds.
- Troubleshooting: If your icing is too runny, add more powdered sugar. If it’s too thick, add a few drops of water gradually.
How to Prevent Drying
Keeping your royal icing workable for longer can be a challenge, especially on a busy baking day. Consider these tricks:
- Covering Up: Always cover your bowl with a damp cloth or plastic wrap to prevent it from drying out.
- Misting: In dry climates, lightly mist your icing with water from a spray bottle if it starts to harden.
- Thinner Layers: If your icing starts to set while you work, consider using it in thinner layers to allow for more flexibility in decorating.
With these tips in hand, you’re ready to make your royal icing shine in your baking projects!
Serving Suggestions for Cookies Decorated with Royal Icing
Decorating cookies with royal icing can transform a simple treat into an eye-catching masterpiece, making them perfect for various occasions. Whether it’s a birthday bash or a festive holiday gathering, these delicious cookies can take center stage.
Ideas for Special Occasions
Think about the celebrations that make you smile—birthdays, weddings, or seasonal holidays. Decorated cookies are wonderful for:
- Birthday Parties: Create cookies shaped like the birthday child’s favorite characters or themes.
- Weddings: Elegant cookies adorned with floral designs can serve as charming favors.
- Holidays: Christmas, Easter, or Halloween cookies can be customized to fit the season.
Imagine presenting a platter of beautifully iced cookies at your next gathering, adding a personalized touch to the festivities.
Pairing with Beverages
To truly enhance your cookie experience, consider these delightful beverage pairings:
- Coffee: A strong, aromatic brew complements the sweetness of royal icing beautifully.
- Tea: Herbal or chai teas can balance the icing’s sweetness while adding warmth.
- Milk: Classic and comforting, milk is a timeless companion to cookies.
Taking a moment to savor your decorated cookies alongside your favorite drinks can elevate your enjoyment and create unforgettable moments.
Time Breakdown for Making Royal Icing
Creating the perfect royal icing is simpler than you might think! Knowing how to allocate your time can make the process feel effortless, allowing you to focus on the fun part—decorating!
Preparation Time
To kick off your royal icing recipe, set aside about 10 minutes for preparation. Gather your ingredients, which typically include powdered sugar, egg whites (or meringue powder), and any food coloring you desire. Having everything prepped and ready will streamline your mixing process.
Mixing Time
Once you’re ready to mix, it should take approximately 5 to 10 minutes. Combine your ingredients in a bowl, and beat them until you achieve that coveted glossy texture. The goal here is to achieve stiff peaks, which indicate that your icing will hold its shape beautifully when piped.
Total Time
From start to finish, you’re looking at around 15 to 20 minutes to whip up your royal icing. This quick process allows you to spend more time on the creative side of icing your favorite desserts. Happy decorating!
Nutritional Facts for Royal Icing
When diving into the delightful world of baking, understanding the nutritional facts of royal icing can help elevate your creations, bringing both beauty and awareness to your baked treats. This sweet, glossy topping is not only pleasing to the eye but also packs in some specific nutritional details.
Calories Per Serving
Each serving of royal icing contains approximately 60 calories. Given its primary ingredients of powdered sugar and egg whites, it’s a treat that adds less to your overall caloric intake than many frosting options while still providing that necessary sweetness.
Sugar Content
The sugar content is significant, with around 14 grams per serving. Typically, the royal icing recipe calls for a generous amount of powdered sugar, which is what helps achieve that signature stiff consistency ideal for decorating.
Protein
You can also find about 1 gram of protein in each serving. This comes mainly from the egg whites used in the recipe, which help bind the ingredients while providing a slight nutritional boost.
Remember, while royal icing can make your desserts shine, moderation is key! Enjoy this sweet treat responsibly while embracing the joys of baking.
FAQ on Royal Icing
Working with royal icing can spark your creativity in the kitchen, especially when you see how it transforms ordinary cookies into edible masterpieces. Whether you’re a beginner or a seasoned pro, you probably have some questions about this essential decorating tool. Let’s dive into some of the most common inquiries.
Can I store royal icing?
Absolutely! Proper storage is key to maintaining the quality of your royal icing recipe. If you have leftover icing, place it in an airtight container and cover it with plastic wrap, ensuring it touches the surface to prevent air exposure. Stored this way, it can last for about two weeks in the refrigerator. Just remember to re-whip it before using, as it may separate slightly.
What can I use instead of egg whites?
If you’re looking for alternatives to egg whites, several options work beautifully in a royal icing recipe. You can use:
- Meringue powder: This is a common substitute; just mix it with water at a ratio of about 1 tablespoon of meringue powder to 2 tablespoons of water.
- Aquafaba: The liquid from canned chickpeas can also replace egg whites. Typically, three tablespoons of aquafaba equal one egg white.
- Powdered sugar & water: For a simple solution, you can mix powdered sugar with water to achieve a thick consistency, although this might alter the icing’s final texture.
How long will decorated cookies last?
Decorated cookies using royal icing can last quite a while if stored correctly. Once completely dried, they can be kept at room temperature for about two weeks. For longer storage, consider wrapping them securely and placing them in the freezer. Just be sure to let them thaw at room temperature before you enjoy them again!
Conclusion on Royal Icing Recipe
In wrapping up this delightful journey into making the perfect royal icing recipe, it’s clear that achieving icing excellence requires attention to detail and a touch of creativity. This versatile recipe not only provides a stunning finish for your baked goods but also opens the door to endless decorating possibilities. Remember, the beauty of royal icing lies in its adaptability—adjust thickness for flooding or piping to suit your specific needs. As you practice and experiment, you’ll find that your confidence grows, allowing you to create beautifully adorned cookies, cakes, and more. Happy decorating!
Print
Royal Icing
- Total Time: 10 minutes
- Yield: Makes enough icing for decorating two dozen cookies
- Diet: Vegetarian
Description
This royal icing is perfect for decorating cookies and creating beautiful designs.
Ingredients
Scale
- 3 egg whites
- 1 pound confectioners’ sugar (450g)
- 1 teaspoon vanilla extract
Instructions
- In a stand mixer or large mixing bowl, beat the egg whites on medium-low speed until frothy, about 1 minute.
- Gradually add confectioners’ sugar and vanilla extract while the mixer is on low speed until fully incorporated.
- Increase the mixer speed to medium-high and beat until stiff, shiny peaks form.
- Cover any unused icing with plastic wrap to prevent drying.
- Transfer the icing to piping bags and decorate your cookies as desired.
Notes
- Ensure the egg whites are raw and fresh for best results.
- This icing can be stored in an airtight container but should be used within a few days for optimal texture.
- Prep Time: 10 minutes
- Category: Dessert
- Method: Mixing
- Cuisine: American
Nutrition
- Serving Size: 1 tablespoon


