Follow Me On Social Media!
Pressure Cooker Yogurt: The Creamy Easy Joy of Homemade Delight
Introduction to Pressure Cooker Yogurt
Imagine transforming simple milk into creamy, tangy yogurt right in your kitchen with the push of a button. That’s the magic of making pressure cooker yogurt. Not only does it promise a delicious outcome, but it also opens the door to numerous health benefits and culinary creativity. Whether you’re on a mission to eat cleaner or just want to experiment with flavors, homemade yogurt is a fantastic staple to have on hand.
One of the most compelling reasons to embark on your pressure cooker yogurt journey is the ease and control it provides. Store-bought yogurts often contain added sugars, preservatives, and artificial flavors that can cloud their health benefits. By making your yogurt at home, you can avoid these additives while customizing it to suit your taste. Imagine infusing your yogurt with fresh fruit, honey, or even spices like cinnamon or vanilla – the options are endless!
Another game-changer is the cost. Have you ever flipped over a yogurt container and gasped at the price for just a few servings? When you make yogurt at home, you’re not only saving money but also reducing the number of trips to the grocery store. Plus, think about the satisfaction of opening your fridge and seeing a jar of yogurt you crafted yourself. It’s truly rewarding!
Speaking of convenience, using a pressure cooker simplifies the yogurt-making process significantly. With precise temperature control and less mess involved, it allows you to focus on other things while your yogurt transforms. Just set it, forget it, and return to a creamy delight waiting for you.
The probiotics present in yogurt are an added bonus, contributing to gut health and aiding in digestion. By making your own yogurt, you’re ensuring that you’re getting live cultures without any extra fuss.
So, if you’re looking to dive into the world of pressure cooker yogurt, gather your ingredients and get ready for a delightful culinary experience. Your taste buds (and your gut) will thank you!
Key Ingredients for Pressure Cooker Yogurt
Making pressure cooker yogurt is a delightful experience that combines simple ingredients with a touch of magic from your kitchen appliance. Here’s what you’ll need to create your creamy, homemade yogurt.
Milk
The star ingredient in your yogurt is, of course, milk. Whole milk provides that luscious creaminess, while low-fat or skim milk offers a lighter option. However, I recommend whole milk for the best flavor and texture. If you’re feeling adventurous, try using non-dairy alternatives like coconut or almond milk—though the results may vary.
Yogurt Starter
To get that tangy flavor and smooth consistency, don’t forget the yogurt starter! You can use either store-bought plain yogurt with live cultures or a powdered starter. Just a couple of tablespoons is all you need to introduce your milk to those wonderful active cultures that transform it into yogurt.
Sweetener (Optional)
If you prefer a taste of sweetness, consider adding a sweetener like honey or sugar. This is entirely personal; some people love their yogurt plain, while others appreciate a hint of sweetness.
Flavorings (Optional)
Feel free to get creative! Vanilla extract, fruit purees, or spices like cinnamon can elevate your pressure cooker yogurt to a delightful treat.
Using these key ingredients will set you on the path to yogurt-making success, turning your kitchen into a haven for creamy goodness.
Why You’ll Love This Pressure Cooker Yogurt
Imagine waking up to the creamy, tangy delight of homemade yogurt, crafted effortlessly in your very own pressure cooker. This pressure cooker yogurt recipe not only saves you time but also gives you complete control over the ingredients, ensuring that each bite is as fresh and wholesome as you desire.
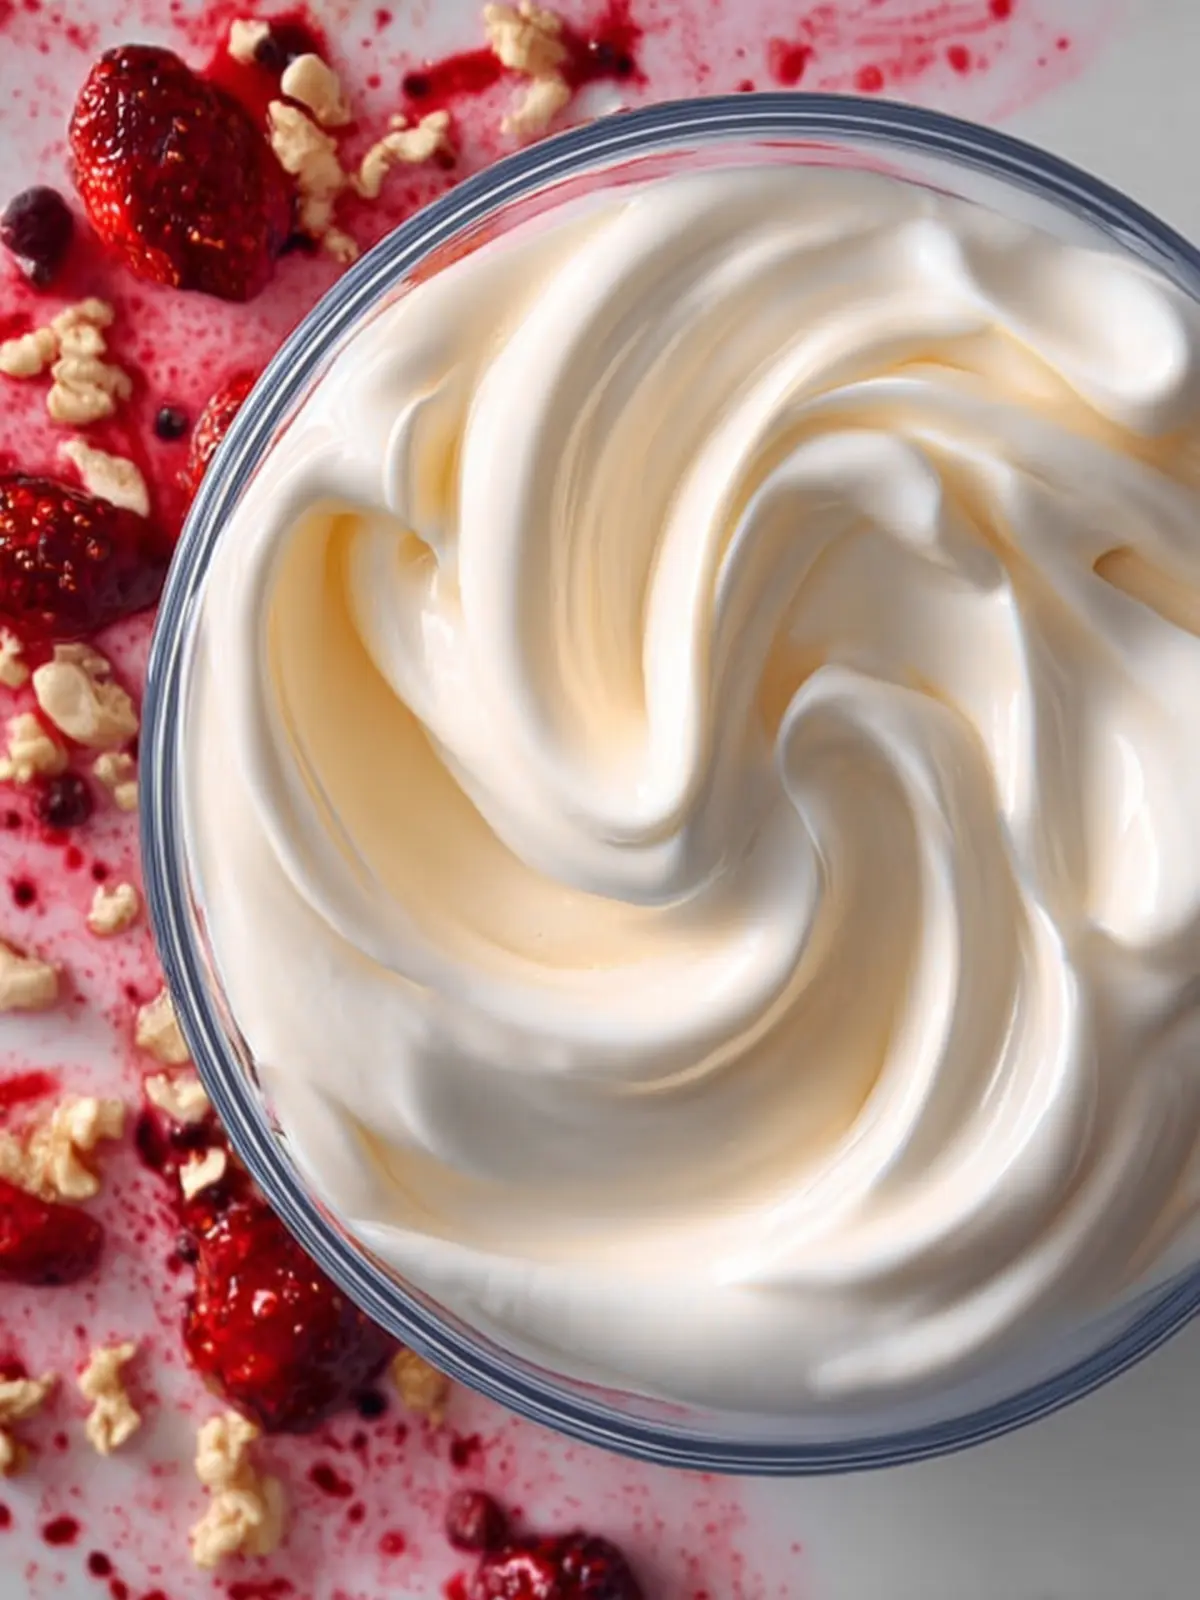
Unmatched Creaminess
One of the best things about this yogurt is its extraordinary creaminess. Using whole milk as the base creates a rich texture that store-bought versions simply can’t match. Plus, the preservation of the milk’s natural flavors means that every spoonful is a delicious experience.
Simple Yet Flavorful
Not only is the process incredibly straightforward, but you can also personalize your yogurt to your taste. Add a splash of vanilla extract or a drizzle of honey to the milk before starting, and you’ll have a delectable, flavored yogurt that’s sure to impress. Experimenting with various toppings like fresh fruits, granola, or nuts allows you to get creative with breakfasts or snack time.
Health Benefits
Making pressure cooker yogurt at home is a fantastic way to enjoy the health benefits of probiotics, which are beneficial for gut health. With no added preservatives or artificial ingredients, you can indulge guilt-free.
In short, this yogurt not only tastes fantastic but is also a smart addition to any health-conscious lifestyle. Grab your pressure cooker, and let’s get started on this delicious journey!
Variations on Pressure Cooker Yogurt
Creating your own pressure cooker yogurt opens up a world of delightful flavors and textures that can elevate your breakfast or snack game. While classic yogurt is always a winner, experimenting with variations can make your homemade yogurt truly shine. Here are a few fun ideas:
Flavored Yogurt
Infusing your yogurt with flavors is an excellent way to personalize it. Once your yogurt has set, mix in ingredients like:
- Fresh fruits: Strawberries, blueberries, or peaches can add a vibrant taste.
- Natural sweeteners: Honey, maple syrup, or agave can enhance the flavor.
- Extracts: A splash of vanilla, almond, or coconut extract can create a delightful twist.
Greek Style
If you enjoy thicker yogurt, consider straining your pressure cooker yogurt through cheesecloth or a fine mesh strainer. This process removes excess whey, resulting in a creamy Greek-style yogurt. It’s perfect for topping with granola or salads!
Savory Yogurt
Feeling adventurous? Turn your yogurt into a savory dip by stirring in:
- Chopped herbs: Fresh dill, chives, or mint lend a bright flavor.
- Spices: A pinch of cumin or paprika can create a unique taste experience.
- Garlic or onion powder for a punchy flavor.
Smoothie Base
Transform your homemade yogurt into a base for smoothies. Combine it with your favorite frozen fruits, a splash of orange juice, or spinach for a nutritious, thick, and creamy delight to kickstart your day!
These variations let you experience the versatility of pressure cooker yogurt, catering to diverse tastes and culinary adventures. Enjoy making your yogurt journey exciting!
Cooking Tips and Notes for Pressure Cooker Yogurt
Creating pressure cooker yogurt can feel like a kitchen mystery, but with a few tips in your back pocket, you’ll be whipping up creamy yogurt like a pro.
Choosing the Right Milk
The type of milk you use can dramatically affect the consistency and flavor of your yogurt. Whole milk tends to yield a creamier texture, while low-fat milk can produce a slightly thinner yogurt. If you’re feeling adventurous, try a blend of both for a rich yet light result!
Temperature Matters
Before adding your starter culture, ensure your milk is cooled to around 110°F. This temperature is optimal for the beneficial bacteria to thrive, leading to that perfect tanginess. Use a kitchen thermometer to monitor, especially if you’re nervous about guessing.
Patience is a Virtue
Once you set your pressure cooker to the yogurt setting, resist the urge to peek inside. The fermentation process needs time—usually around 8 to 12 hours. A longer incubation can yield tangier yogurt, while a shorter one is milder.
Flavoring Options
Feel free to experiment! While plain yogurt is delicious, consider stirring in flavors like vanilla extract or a bit of honey after the yogurt has set. This way, you keep the health benefits without sacrificing taste.
These tips can help transform a simple recipe into your go-to snack or breakfast option! Enjoy the journey of crafting delicious, homemade pressure cooker yogurt right from your kitchen.
Serving Suggestions for Pressure Cooker Yogurt
Creating pressure cooker yogurt at home opens up a world of delicious possibilities. Whether you’re looking for a light snack or a flavorful breakfast, this creamy delight can effortlessly fit into your daily routine.
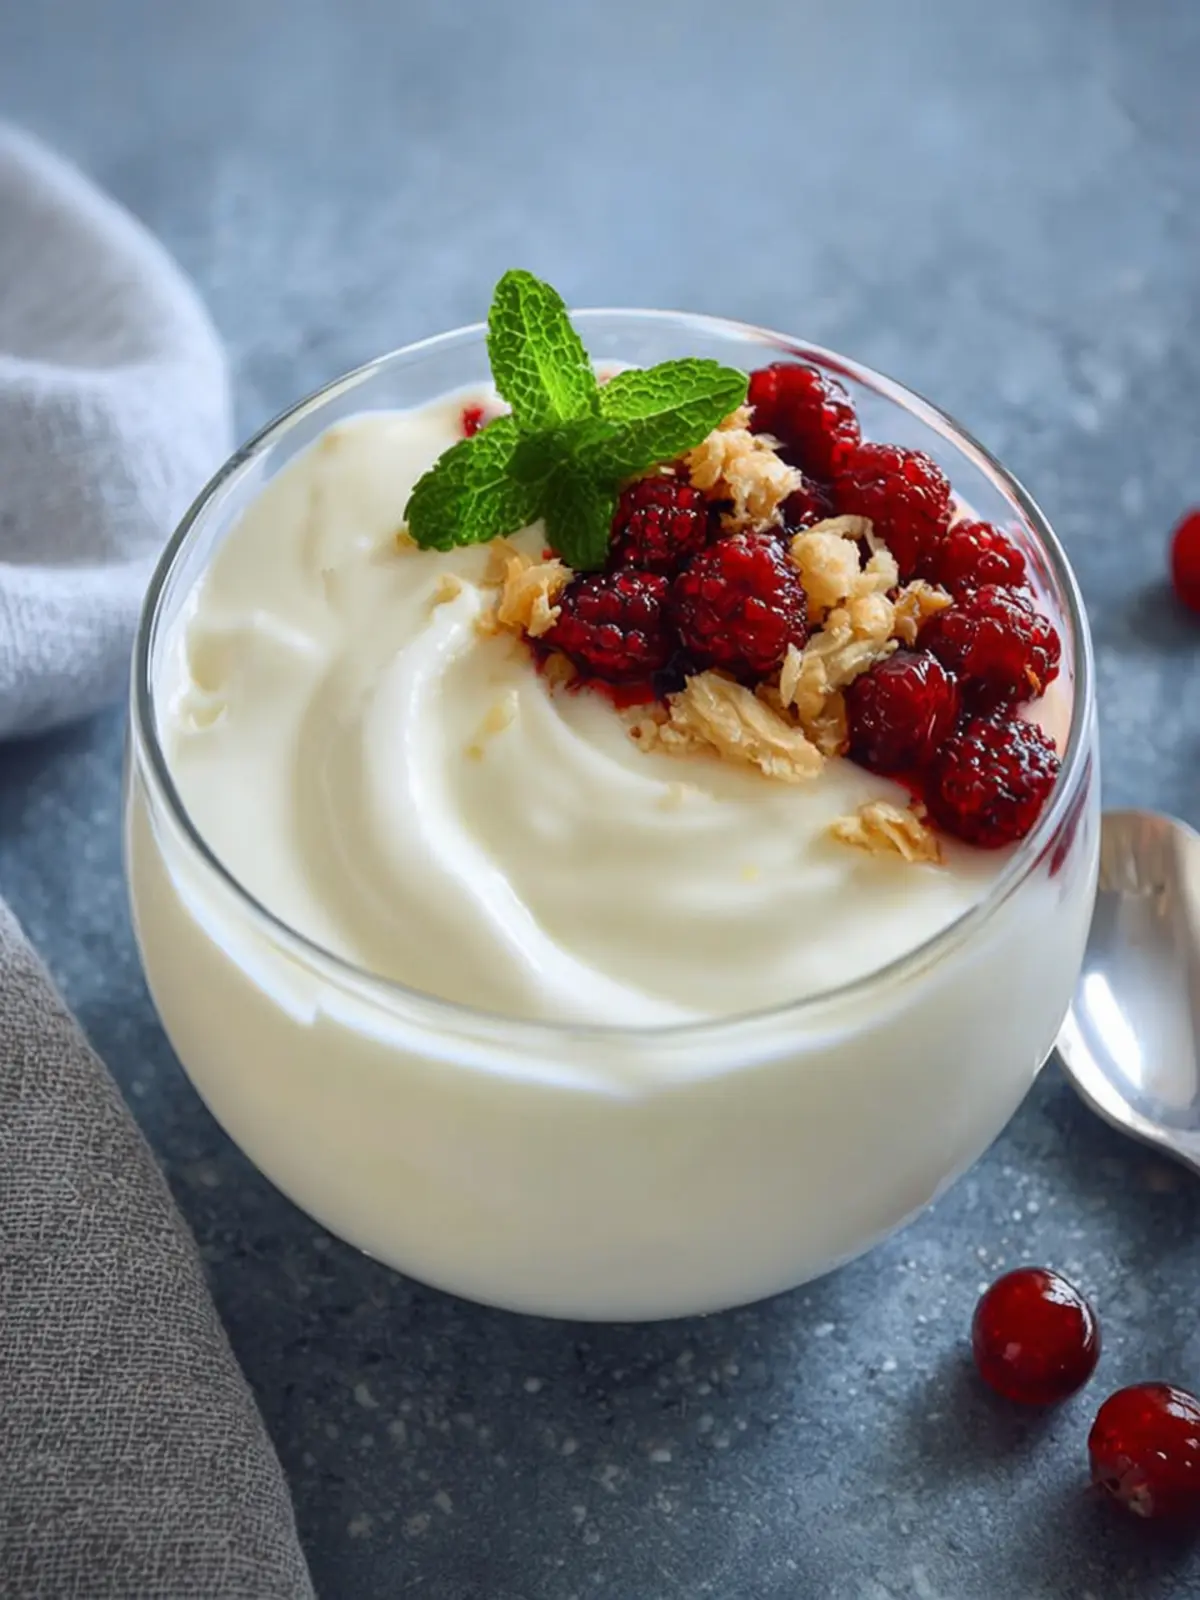
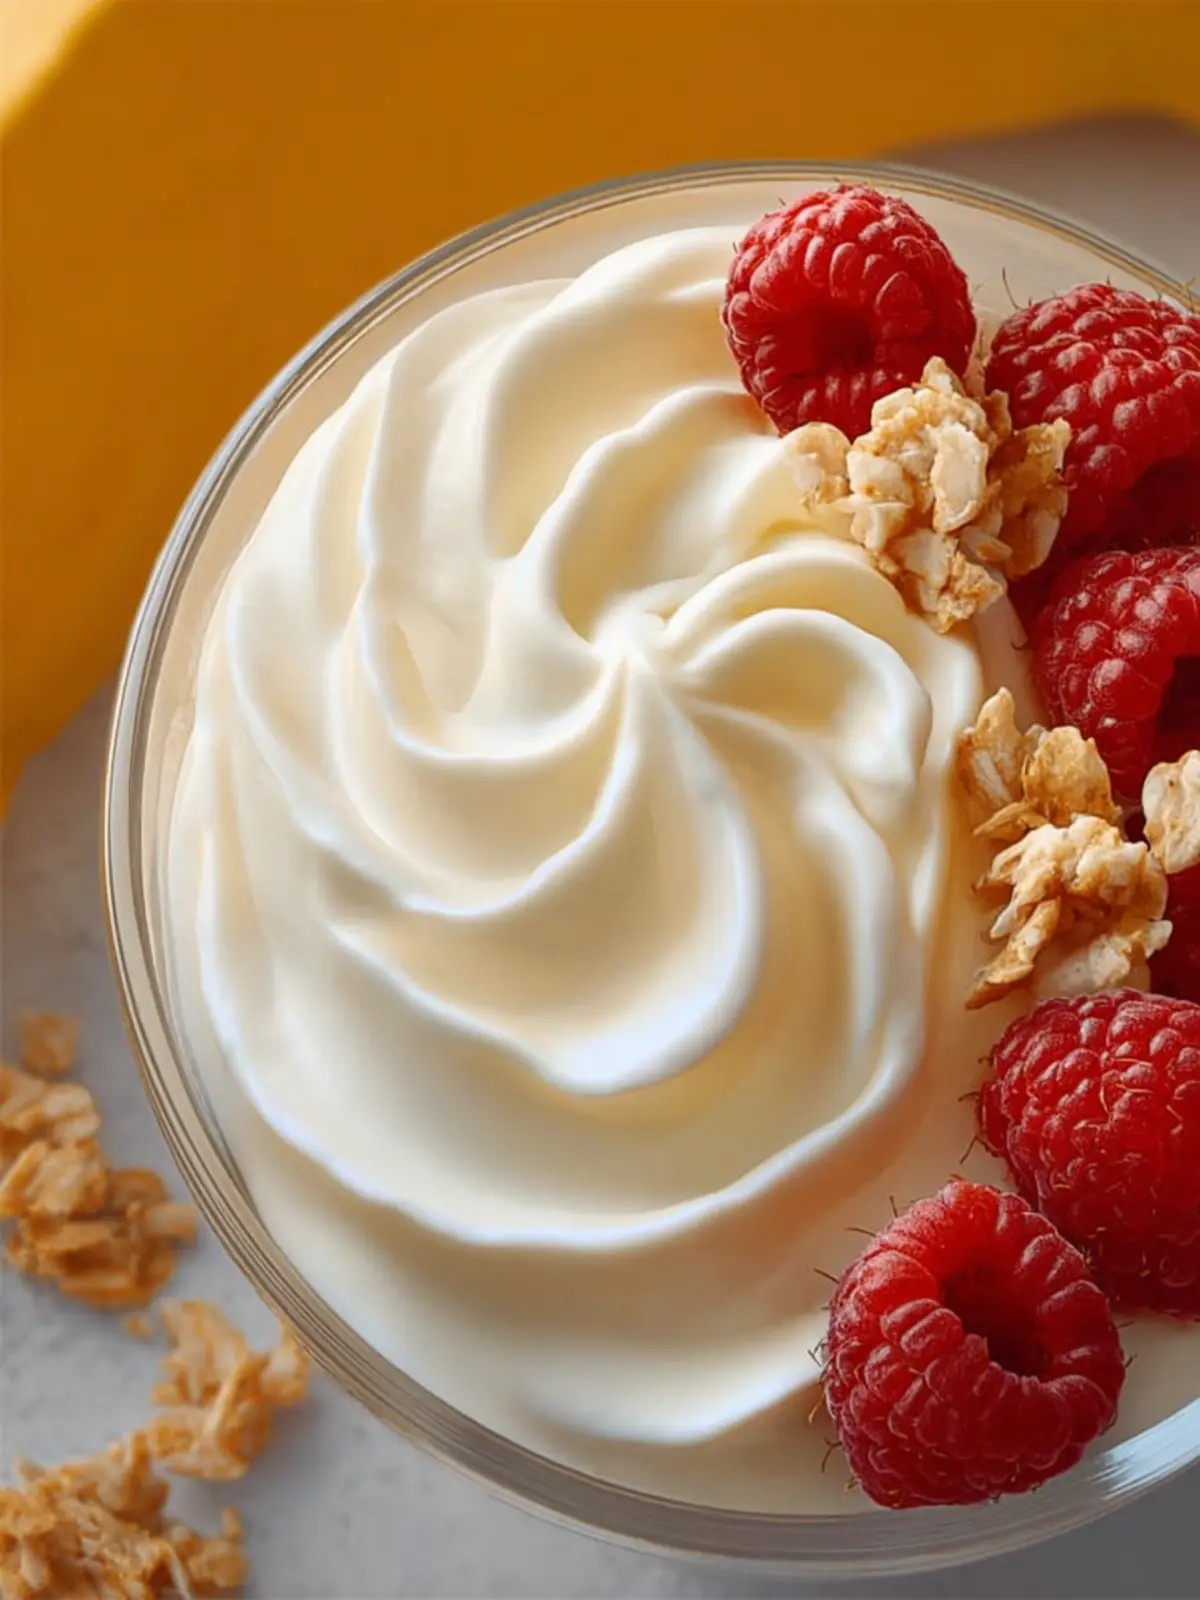
What to Top Your Yogurt With
Adding toppings to your pressure cooker yogurt can transform it from simple to sensational. Here are a few ideas for a tasty finish:
- Fresh Fruits: Consider seasonal fruits like berries, bananas, or peaches for a burst of sweetness and nutrients.
- Nuts and Seeds: Add walnuts, almonds, or chia seeds for a satisfying crunch and healthy fats.
- Honey or Maple Syrup: A drizzle of honey or syrup can enhance the yogurt’s natural flavors.
- Granola: A sprinkle of granola provides a delightful texture and a hearty kick.
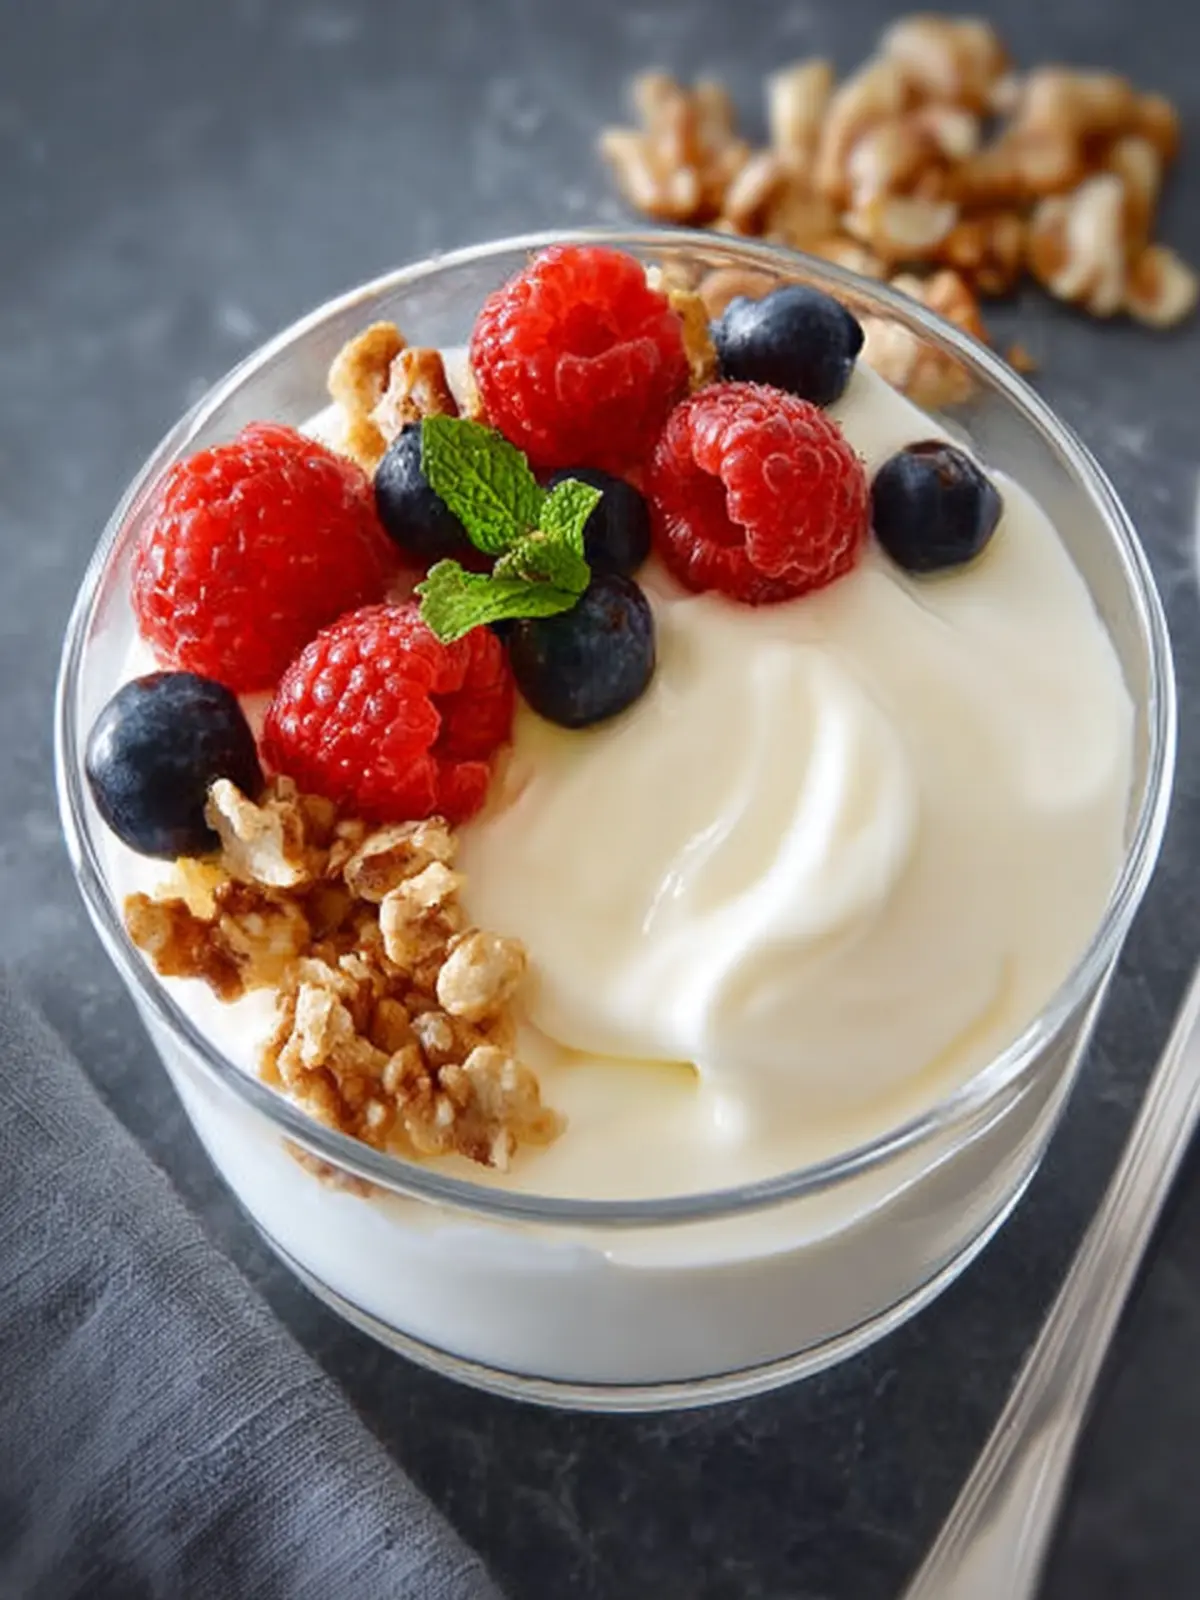
Quick Breakfast Ideas
Need a quick breakfast on the go? Your pressure cooker yogurt can save the day! Here are a couple of suggestions:
- Yogurt Parfait: Layer yogurt with your favorite fruits and granola in a jar for a nourishing breakfast that’s easy to take with you.
- Smoothie Bowl: Blend yogurt with some spinach and frozen fruit for a nutrient-packed smoothie bowl. Top with seeds, nuts, and a few slices of fresh fruit for extra flair.
Enjoy these serving suggestions to elevate your homemade yogurt experience!
Time Breakdown for Pressure Cooker Yogurt
Creating luscious pressure cooker yogurt at home isn’t just a breeze; it’s an enjoyable journey that brings the satisfaction of homemade goodness to your kitchen. Let’s break down the time needed to whip up this creamy treat!
Preparation time
To start, set aside about 10 minutes to gather your ingredients and get everything ready. This includes measuring the milk and yogurt starter and ensuring your pressure cooker and utensils are clean.
Cooking time
The cooking phase will take approximately 8 hours for the yogurt to ferment properly in the pressure cooker. This period is where the magic happens—as the bacteria work to transform the milk into thick, tangy yogurt.
Total time
By the time you combine preparation and cooking, you’re looking at a total of about 8 hours and 10 minutes. While that might sound lengthy, most of this time is hands-off, giving you the freedom to go about your day while the pressure cooker yogurt does its thing!
Nutritional Facts for Pressure Cooker Yogurt
When you whip up a batch of pressure cooker yogurt, you not only create a deliciously creamy delight but also pack a nutrition punch. Understanding what’s inside this homemade treat can enhance your enjoyment and health goals.
Calories
A typical serving of pressure cooker yogurt contains around 100-150 calories, depending on whether you use whole milk or skim milk. It’s a fantastic snack or breakfast option that can keep you energized throughout your day.
Protein
One of the highlights of pressure cooker yogurt is its high protein content. Each serving can provide about 8-10 grams of protein, making it a perfect post-workout snack or addition to your breakfast routine that helps to build and repair muscles.
Carbohydrates
In terms of carbohydrates, you can expect about 6-8 grams per serving. This moderate amount provides a healthy source of energy without overwhelming your diet, especially when compared to sugary store-bought yogurts.
Enjoy making and sharing your homemade pressure cooker yogurt, knowing it’s both delicious and nutritious!
FAQs about Pressure Cooker Yogurt
Homemade pressure cooker yogurt can feel like a culinary adventure, and with that adventure often comes a few questions. Let’s dive into some of the most common inquiries to help you seize the yogurt-making process with confidence.
Can I use any type of milk?
Absolutely! You can use a variety of milk types for your pressure cooker yogurt, including whole, 2%, skim, and even non-dairy options like almond or coconut milk. However, keep in mind that whole milk tends to produce the creamiest yogurt due to its higher fat content. If using non-dairy milk, look for products with added calcium and a creamy consistency for the best results.
What if I don’t have a yogurt button on my cooker?
No yogurt button? No problem! You can still make pressure cooker yogurt by using the “Keep Warm” setting. Simply heat the milk to the appropriate temperature, cool it down to around 110°F, and then add your starter culture. Cover the pot and set it to Keep Warm for several hours—typically anywhere from 6 to 12 hours depending on your desired tartness.
How long does homemade yogurt last?
Homemade pressure cooker yogurt usually lasts about 1 to 3 weeks if stored properly in the refrigerator. Just make sure to keep it in an airtight container to maintain its freshness. Moreover, the flavor may continue to develop over time, so trust your taste buds—if it smells and tastes good, it’s likely still safe to enjoy!
Creating pressure cooker yogurt is more than just a recipe; it’s an experience that lets you personalize your yogurt journey. Now that you’ve got the answers, it’s your turn to whip up a delicious batch!
Conclusion on Pressure Cooker Yogurt
Making pressure cooker yogurt is not just about simplifying the yogurt-making process; it’s also about embracing the joys of homemade goodness. The satisfaction of transforming milk into creamy yogurt—with a distinct tang—right in your kitchen is unbeatable. It opens up a world of culinary creativity, from tasty smoothies to delightful parfaits.
Remember, the beauty of this recipe lies in its flexibility. You can customize it to fit your taste preferences, whether you enjoy it plain or jazzed up with fruits and honey. So, take a plunge into the wonderful world of pressure cooker yogurt and nourish your creativity and palate!
Print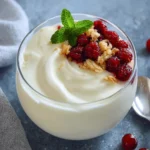
Pressure Cooker Yogurt
- Total Time: 8 hours 15 minutes
- Yield: 6 servings 1x
- Diet: Gluten-Free
Description
Learn how to make delicious homemade yogurt using a pressure cooker.
Ingredients
Scale
- 52 oz ultra filtered whole milk (Fairlife brand recommended)
- 2 tbsp Greek yogurt (plain with live active cultures)
- 1 tbsp vanilla
Instructions
- Whisk together 2 tbsp of Greek yogurt with 1 cup of your ultra filtered whole milk until smooth.
- Pour remaining milk into your pressure cooker, then add your Greek yogurt mixture, stir. Whisk in your vanilla.
- Close lid but do NOT seal pressure/steam release valve. Press the yogurt button on your pot and set the pressure to normal. Set cook time to 8 hours.
- After this time, take out the inside liner from your pressure cooker pot and cover it with plastic wrap. Put this into your refrigerator overnight or for at least 8 hours. Enjoy topped with fresh fruit and/or granola.
- For pressure cooker yogurt without a yogurt button: Use your saute function, normal setting, and add your milk. Have a thermometer handy. Stir intermittently so it doesn’t overheat on the bottom. Heat milk to 180 degrees F.
- Turn your pot off and cool the milk until it is between 112 and 115 degrees F. Whisk in your yogurt. Add vanilla or other extract for flavored yogurt, omit for plain yogurt.
- Close your lid, keep the steam valve OPEN and allow to sit for 8 hours.
- Remove inner pot and let cool to room temperature on the counter.
- Cover top with plastic wrap and put into fridge overnight or for 8 hours.
Notes
- Fairlife milk is higher in protein, resulting in thicker yogurt.
- Prep Time: 15 minutes
- Cook Time: 8 hours
- Category: Breakfast
- Method: Pressure Cooking
- Cuisine: American
Nutrition
- Serving Size: 1 cup